• Services
  • Upload Files
  • Hours & Directions
  • Testimonials
  • Store
  • About Us
  • Panopticon Gallery
Menu

Panopticon Imaging, Inc

540 Union Street, Rockland, MA 02370 · 781-740-1300 · mail@panopticonimaging.com
  • Services
  • Upload Files
  • Hours & Directions
  • Testimonials
  • Store
  • About Us
  • Panopticon Gallery

Making a Negative from a Cell Phone

February 13, 2017

Pretty much everyone now a days has a smartphone. It seems like every time you turn around there is a new and improved cell phone being offered. With the increase of smartphones comes the controversy of phone photography, is it fine art? Should it be used professionally by photographers? All of these questions aside, a camera is a camera and if you want to shoot with it we say go for it! We even have options for you. Recently we created a LVT Negative from a digital file shot with an iPhone SE and then printed a 16x20 fiber print in the darkroom. Here is how we did it:


STEP 1:

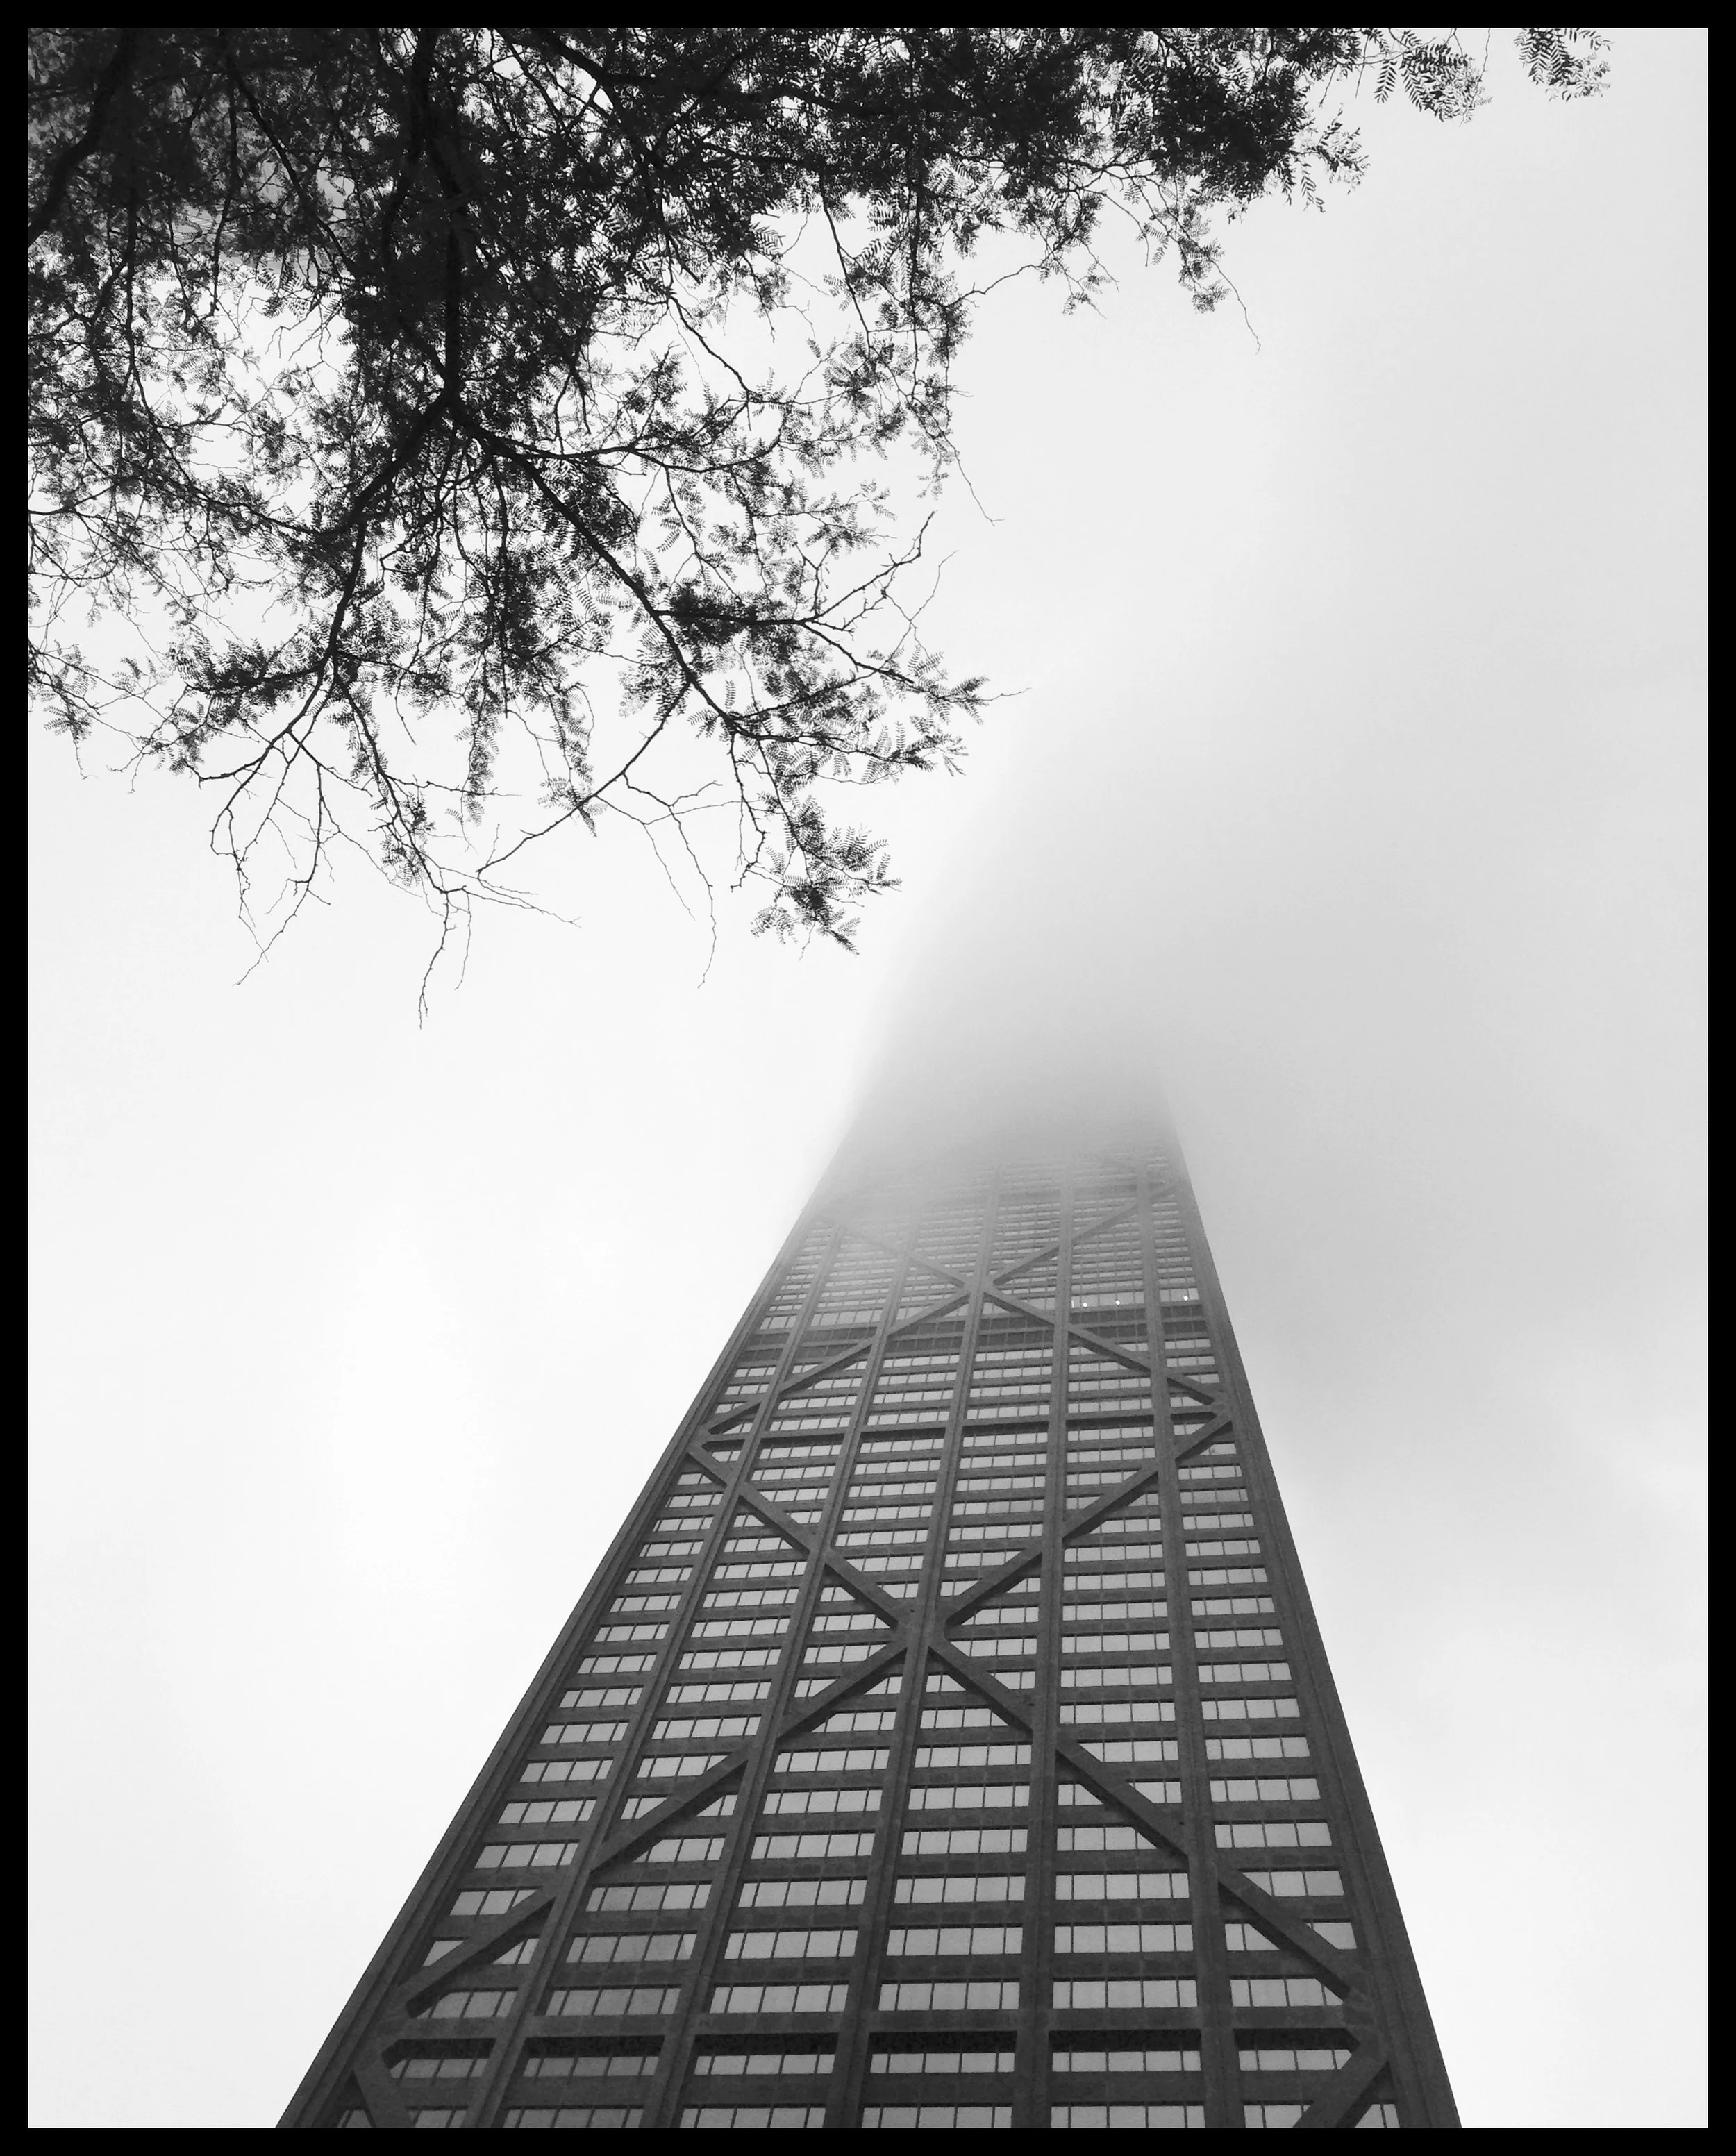
Download the file at FULL SIZE to the computer and import into Photoshop. We made all adjustments here (cropping, levels, curves, dodging/burning, etc.) It is important to make the image in Photoshop the way you want the darkroom print to look. If you know you want a certain area in your image to be brighter make that adjustment now in Photoshop. It will save time and frustration later on in the darkroom!

Our print ready file:

STEP 2:

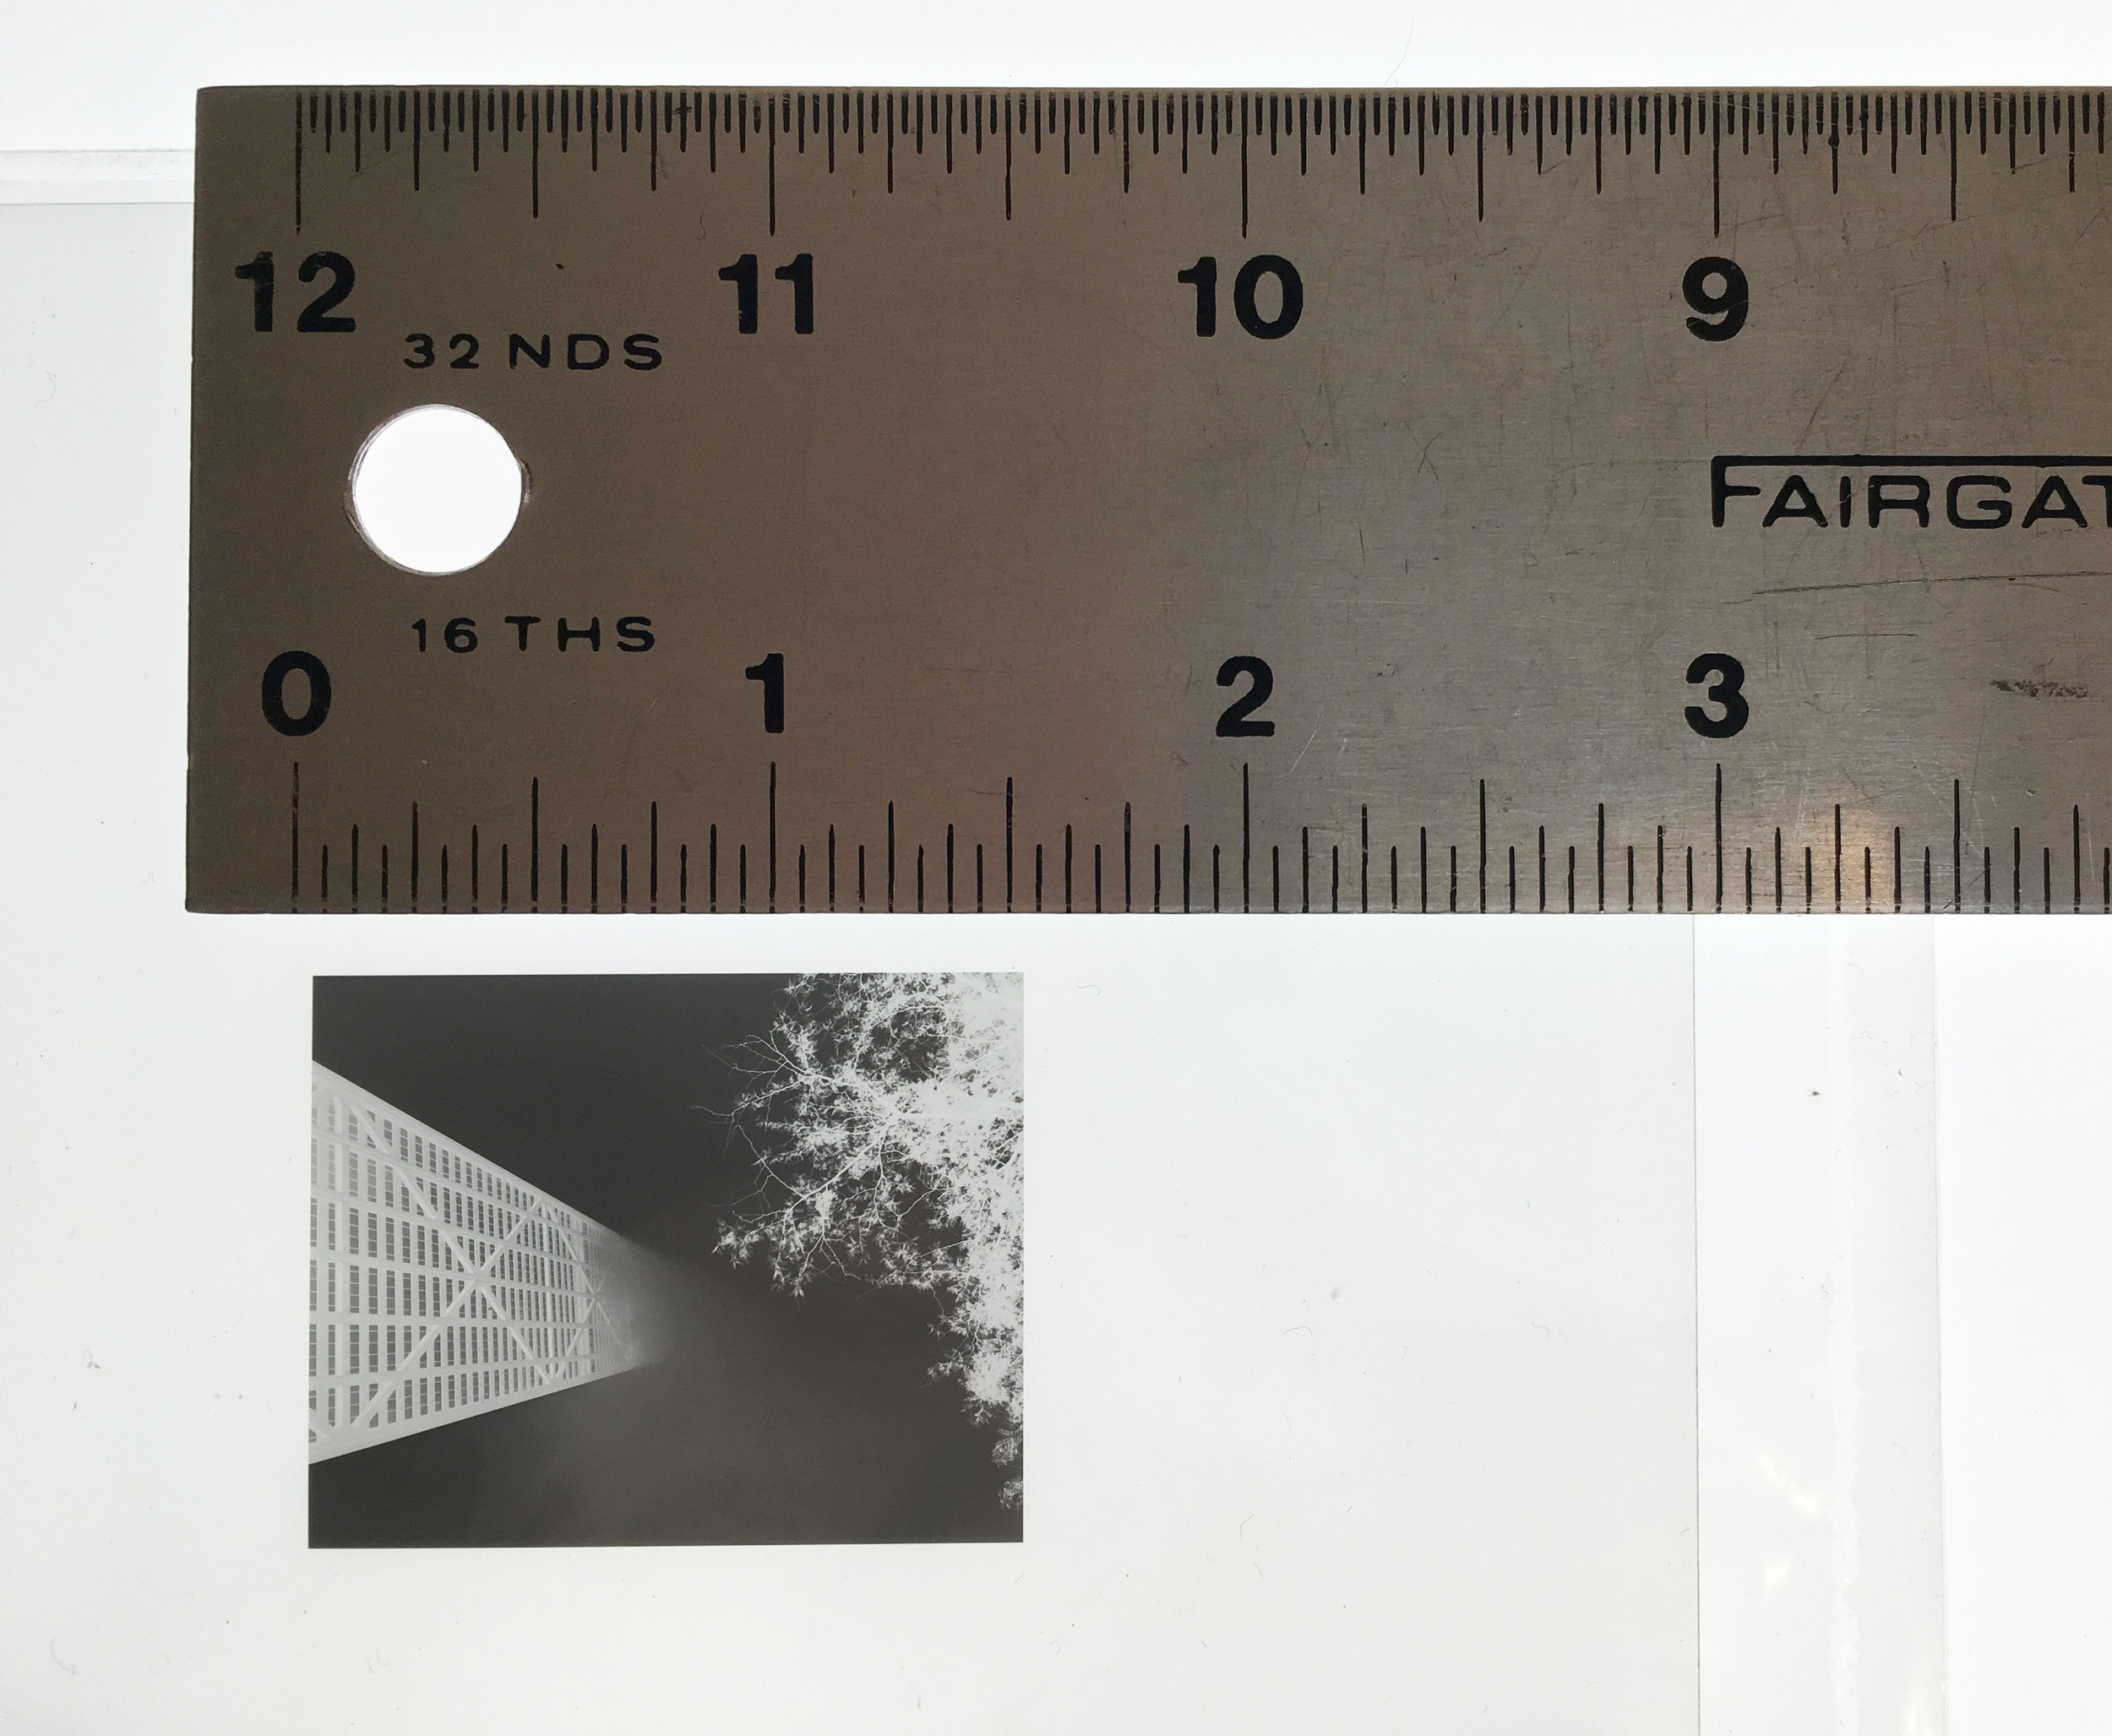
Because our machines take 8x10 film, we can put multiple images on one sheet of film. We can do the same image a few times (with different contrasts for printing) or we can pick completely different images to be on the same sheet of film. It also depends what size you want your negatives to be. If you only have a 35mm enlarger there is no sense in making a medium format negative! We can either prep the LVT file for you or we can send you the specs and you can prepare the file on your own and send it our way to be made.

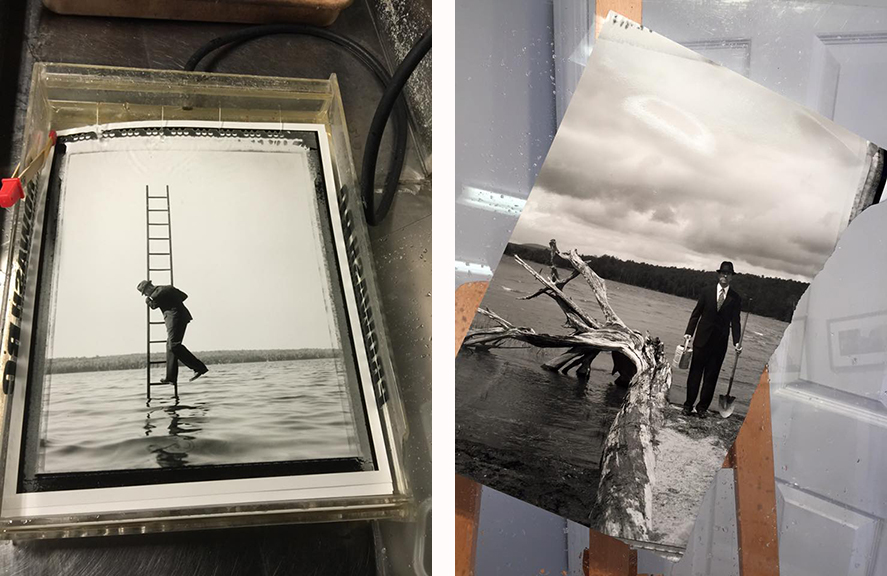
For this example we made both roughly 35mm negatives as well as medium format sized negatives:
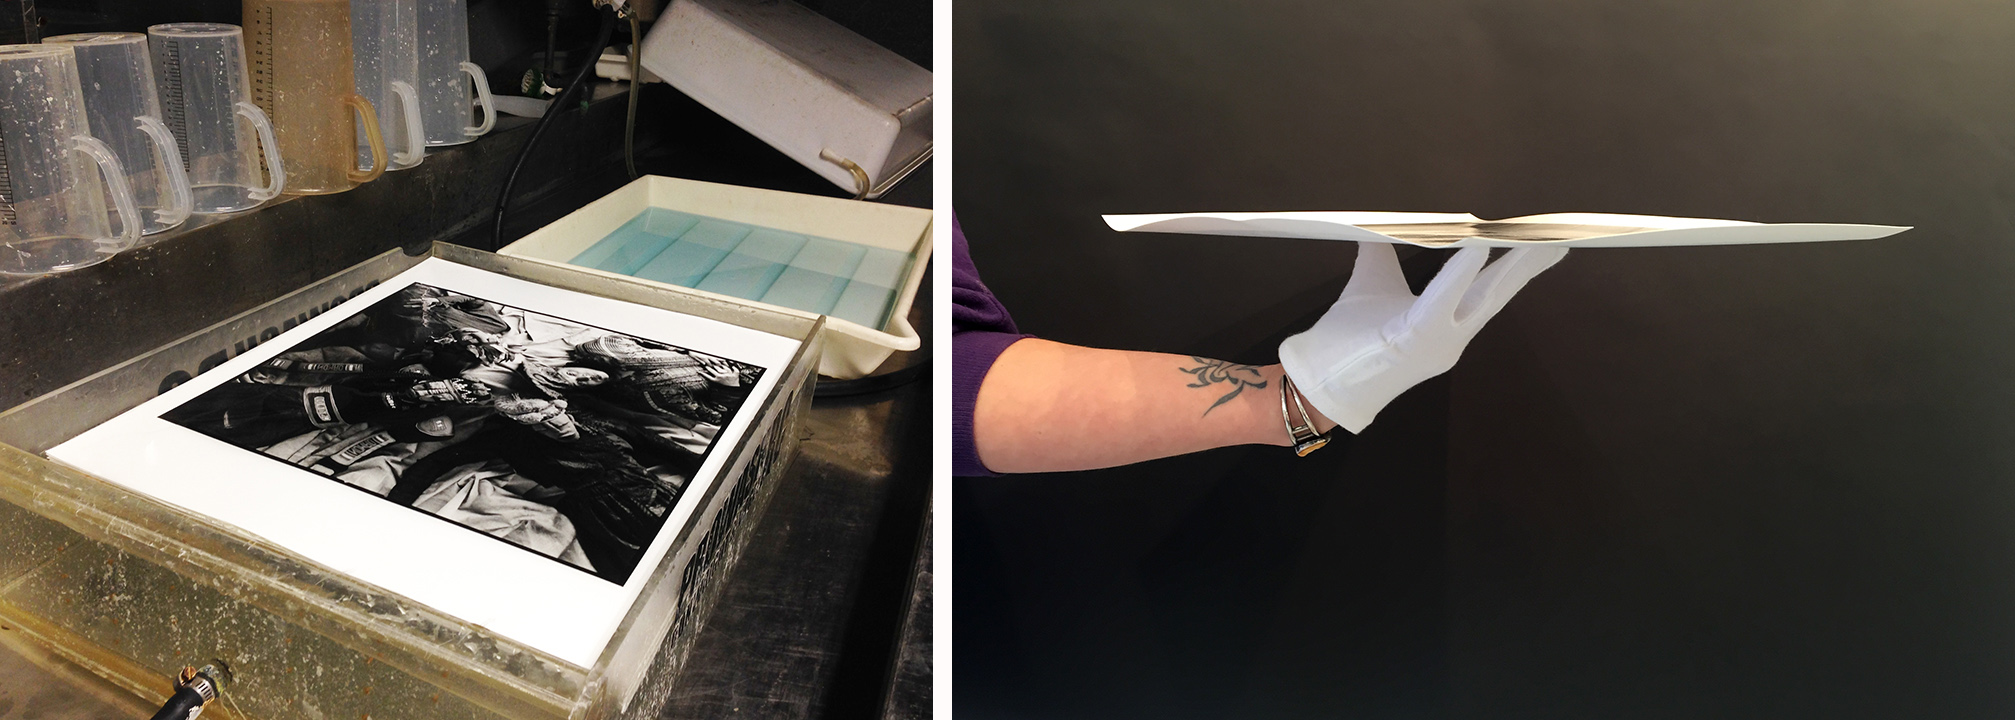
STEP 3:

Get in the darkroom! We used the 35mm sized negative and made a 16x20 fiber based print. We were able to hold detail and tone in the print while maintaining the sharpness . A note about using camera phone files: just like all cameras the higher resolution and bigger files you have to start with the better the output will be. Thankfully the camera phones keep going up in megapixels which makes the photographs higher quality to work with.


If you are interested in this process and have questions please call the office (781-740-1300) we would love to help walk you through it.


In Darkroom Services Tags negatives, digital negatives, fiber printing, black and white photography, black and white film, film processing, film development, Darkroom Printer, darkroom processing, archival darkroom print, photography, photoshop
sheff1.1.jpg

Day in the Darkroom

June 10, 2016
12474089_10205899372145948_8945893084913876192_o.jpg

Paul and Liz have been busy printing  Stephen Sheffield's beautiful photography. We have 26 negatives and making over 50 silver gelatin fiber prints in total for this artist! We always enjoy working with Stephen and love the range of tones in his black & white negatives. Film is most certainly not dead!

In Darkroom Services Tags fiber printing, archival darkroom print, archival fiber prints, stephen sheffield photography, large format negative, Stephen Sheffield, large format printing, black and white photography, darkroom, darkroom printing, darkroom prints, film is not dead, film processing, fine art photography, photography, silver gelatin fiber print

Darkroom Details: What is a RC Print, Fiber Print & more?

March 7, 2016

We have three working darkrooms here at Panopticon Imaging. Each room has its own specific purpose. One houses the printing lab, one our film processor and the third is where we create LVT digital negatives. In our printing lab we hand/tray process each print to ensure the consistency throughout the printing process. The film processor darkroom details are listed here. Our LVT darkroom is where we can create new negatives from digital files (more details below). We are happy to share information about these processes that we know and love. Video by: Frank Hegyi

rccombo_ver1.2
rccombo_ver1.2

What is an RC Print?

RC or Resin Coated Paper is darkroom paper with a base that is sealed between two polyethylene layers, meaning it has a plastic base. Since the base is sealed between the two layers it does not actually absorb the chemicals, greatly reducing the amount of time RC prints need to be washed. This is the most affordable darkroom option, however, the least archival. There is developer in the paper to increase speed of development. Over time this will deteriorate giving your print a lifespan of 20-40 years depending upon storage conditions. This is used for contact prints of negatives and prints. This paper was popular with press & newspapers as they needed images fast for breaking news. The RC paper we print on is Ilford Glossy or Pearl with a weight of 190 gsm (Medium weight) paper.

fiberprint_combo1.2
fiberprint_combo1.2

What is a Silver Gelatin Fiber Print?

Silver print, Fiber prints, Gelatin silver as they are commonly referred to and are one and the same. This is a museum quality, tray printing process (not machine processed). Fiber paper is a paper base that is coated with photographic emulsion. The base of fiber prints are not sealed like the RC paper, this makes for a slower process with washing and drying. These beautiful, archival, exhibition quality, black & white, silver gelatin, fiber prints have superior tonal range, durability, and resistance to fading for over 200 years. All prints are finished with a Selenium bath to assure archival permanence. There is the option of warm tone, glossy or matte Ilford Papers. Fiber paper is 225 gsm which is a double weight paper.

Selenium_combo
Selenium_combo

What is a Selenium Bath / Toning?

We use a Selenium bath to increase the permanence of our Silver Gelatin Fiber prints. For this process we use a combination of diluted Selenium, Fixer Remover and water for a short bath prior to a final wash. Selenium converts some of the original silver image to silver selenide, a more stable form of silver. The Selenium also increases the tonal range available in the paper, deepening the blacks and brightening the lights just a touch. If it is desired, Selenium can also be used to change the color tone of the print. A diluted solution of only Selenium and water will give you a red-brown tone. While a stronger Selenium solution with result in a purple-brown tone.

lvtneg
lvtneg

What is an LVT Negative?

LVT stands for Light Valve Technology. This process which is also known as a Digital Negative or Digital to Silver process is used to create a new negative from a digital file. We have several machines that can create these beautiful negatives on 8x10 sheet film. We have many clients that have damaged negatives that need to be digitally restored and then new negatives made. Also, if you are shooting digitally this give you the option to have prints made in the darkroom. Film is not dead!

LVT negatives: Stephen Sheffield

In Darkroom Services Tags LVT negative, exhibition prints, museum quality printing, archival, selenium toning, selenium bath, selenium wash, fiber print, silver print, RC paper, resin coated paper, Ilford Paper, archival darkroom print, fine art, gallery exhibition, darkroom printing, darkroom prints, film is not dead, film processing, fine art photography, panopticon imaging, photography, silver gelatin fiber print

Latest Posts

Featured
Jul 2, 2018
Framing Services
How Color Theory Can Help You With Your Framing
Jul 2, 2018
Framing Services
Jul 2, 2018
Framing Services
May 11, 2018
College Series
College Series: You've gradauted, Now what?
May 11, 2018
College Series
May 11, 2018
College Series
May 2, 2018
Artist Spotlight
Artist Spotlight: Michael Spencer
May 2, 2018
Artist Spotlight
May 2, 2018
Artist Spotlight
Apr 26, 2018
Digital Services
What do all those paper terms mean?
Apr 26, 2018
Digital Services
Apr 26, 2018
Digital Services

Categories

  • About Us 12
  • Artist Spotlight 12
  • College Series 3
  • Darkroom Services 13
  • Digital Services 16
  • Exhibitions 19
  • Framing Services 15
  • Restorations 11

Panopticon Imaging Blog RSS

Archives

  • July 2018 1
  • May 2018 2
  • April 2018 1
  • March 2018 2
  • February 2018 3
  • January 2018 4
  • December 2017 1
  • October 2017 1
  • September 2017 3
  • August 2017 3
  • July 2017 2
  • June 2017 3
  • May 2017 2
  • April 2017 1
  • February 2017 2
  • January 2017 2
  • November 2016 5
  • October 2016 1
  • August 2016 3
  • July 2016 1
  • June 2016 2
  • April 2016 3
  • March 2016 6
  • February 2016 1
  • January 2016 5
  • December 2015 1
  • November 2015 1
  • October 2015 5
  • September 2015 6
  • June 2015 5
  • May 2015 6
  • April 2015 11
  • March 2015 8